
CelSector Missions: All Six Sectors, Objectives, Rewards
Every CelSector mission in order: the objective for each of the six sectors, the gate that blocks the exit, the rewards it hands over and the steps to clear it.
Quick answer: CelSector has no quest log. Its missions are the six sectors, played in a fixed order: A1 prison, A2 laboratories, B1 sewers, B2 parasitic nest, C1 laboratory and C2 final facility. Each one has a single exit gate — a keycard, three generators or a boss kill — and the rewards are guns, clothing layers, capacity and the keycard that opens the next sector. Clear the side branch before you take the exit, because the door does not stay open.
The full walkthrough→ holds the same order with the missable list attached. This page is the objective list: what each mission asks for, what it pays and where players stall.
Every sector ends in a gate you cannot walk around. If the exit is dead, you are missing the keycard, the generator count or the boss kill.
How missions work in CelSector
There is no marker, no waypoint and no objective text on screen. The game communicates a mission through three things: the locked door in front of you, the item the door wants, and the side branch that holds that item. That is the whole design.
| Layer | Mission it contains | Setting | Exit gate |
|---|---|---|---|
| A | A1, A2 | Prison level and its laboratories | Keycard, then the sector door |
| B | B1, B2 | Flooded infrastructure and the nest below it | Three generators, then a boss keycard |
| C | C1, C2 | Deep laboratory and the control level | Light puzzle, boss drop, elevator |
Missions cannot be reordered. Stage select lets you replay a cleared sector, and keycards you already own stay owned, but doors and arenas reset — so a replay is a re-clear, not a checkpoint.
The six missions at a glance
| # | Sector | Primary objective | Gate | Main rewards |
|---|---|---|---|---|
| 1 | A1 Prison | Reach the sector door with both keycards | Larvae-pit card plus arena card | SMG, three clothing chests, maggot-pit chest |
| 2 | A2 Laboratories | Clear the dog and zombie route to the final door | Keycard from the arena area | Shotgun and sniper, both before a one-way drop |
| 3 | B1 Sewers | Power the hub and reach the elevator | Three generators on | First rifle, four starting-ledge pieces, capacity pickup |
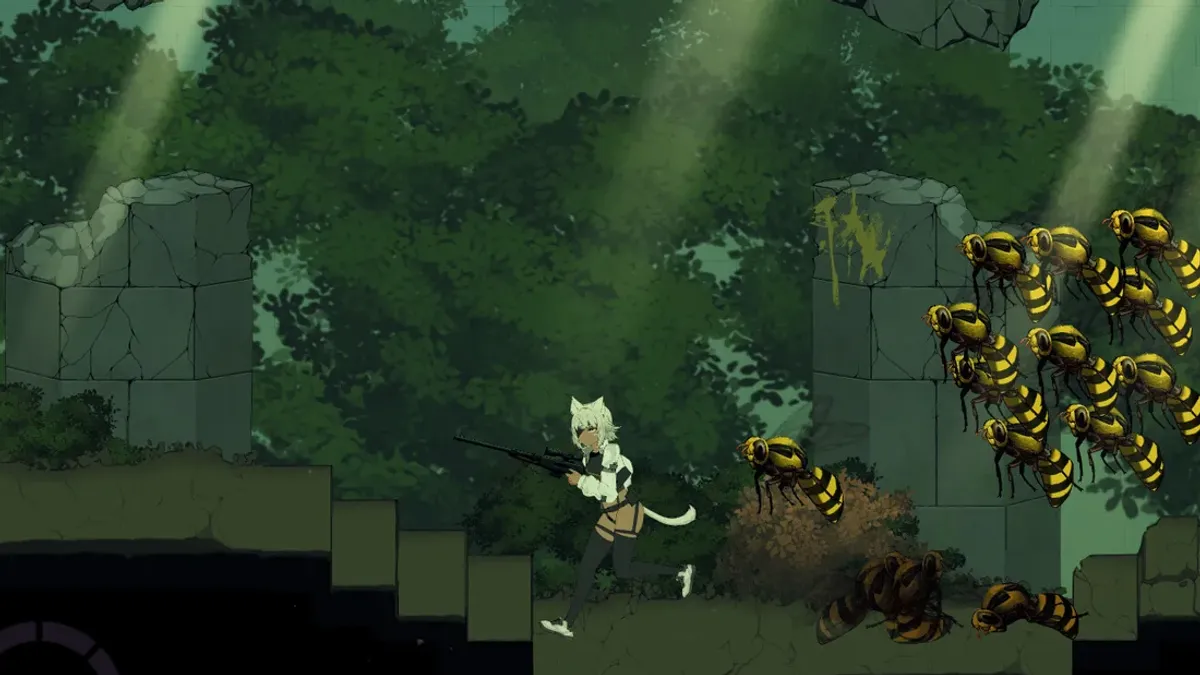
| 4 | B2 Parasitic nest | Clear the web rooms and kill the queen wasp | Queen's keycard | Hive chests, capacity pickup, post-boss chest |
| 5 | C1 Laboratory | Solve the light puzzle, beat the jellyfish boss, sweep the corridor | Corridor keycard | Laser pistol, corridor chest, capacity pickup |
| 6 | C2 Final facility | Reach the final save room and kill the two-head boss | Boss kill, then the elevator | Ending, gallery unlock, post-game room |
Mission 1: A1, the prison
Objective: escape the tutorial sector with both keycards and the SMG.
- Cross the starting corridor and learn the grab escape on the first mutants.
- Clear the first larvae hall, then drop into the pit deliberately for keycard one.
- Clear the larva egg arena for keycard two; check the far side, not the centre.
- Sweep the SMG room: SMG on the left, chests on the left wall and the outer left.
- Take the maggot-pit chest at the bottom right, then open the exit door.
Stall point: the larvae pit looks like a hazard, so players walk past it and hit a locked door with no card. The A1 walkthrough→ marks the drop.
Mission 2: A2, the laboratories
Objective: cross the lab route without losing the two guns that sit before the drop.
- Fight the dog packs in the open room; use the doorway as a choke.
- Sweep the pre-drop ledge for the shotgun.
- Take the sniper from the high ledge before jumping.
- Clear the zombie corridor; rifle or SMG, back up as you fire.
- Take the final door once the keycard is in hand.
Stall point: the drop after the ledge is one-way. If you jump first, you finish the mission without the shotgun and the sniper and have to replay the sector. This is the most common missable in the game.
Mission 3: B1, the sewers
Objective: turn on three generators, open the save room and ride the elevator.
- Collect the four cosmetic pieces on the starting ledge before dropping.
- Take the nearest generator first; it is the least defended.
- Do the middle generator second; its room has the heaviest resistance.
- Take the far generator last and loop back toward the save room.
- Sweep the slime pits for the capacity pickup, then the side room for the first rifle.
- Ride the elevator.
Stall point: the elevator is reachable without the rifle or the capacity pickup. Both are off the main line, so a beeline leaves you under-equipped for B2.
Mission 4: B2, the parasitic nest
Objective: clear the web rooms and kill the queen wasp for the key to Sector C.
- Enter the web room and kill spiders before they coat the floor.
- Break silk from range with the shotgun rather than walking into it.
- Destroy every wasp nest in the corridor; flyers alone never stop spawning.
- Sweep both alcoves for the clothing chest and the upper-ledge capacity pickup.
- Fight the queen: clear adds, punish the landing with the shotgun, sniper the exposed head.
- Take the keycard and the post-boss chest.
Stall point: the corridor feels endless because the nests are the spawner. Killing flyers is the wrong target and drains the SMG reserve.
Mission 5: C1, the laboratory
Objective: solve the light puzzle, kill the jellyfish boss and leave with the laser pistol.
- Toggle each light room to the state that opens its exit; the door is the feedback.
- Cross the slime parkour one platform at a time, clearing ranged enemies first.
- Take the laser pistol from the pre-boss side room.
- Beat the jellyfish boss: laser pistol or SMG on the add rows, shotgun in the close phase.
- Sweep the tentacle corridor to the far right for the keycard and the chest.
Stall point: the laser pistol is a side pickup, and it is the weapon the final boss assumes you own. Leaving C1 without it turns C2 into an ammo problem.
Mission 6: C2, the final facility
Objective: reach the last save room and finish the two-head boss.
- Clear the tentacle corridor and the yellow-lit hall.
- Use the final save room: reload, load an intact preset, spend ammo pickups.
- Phase 1: clear add rows with the laser pistol, sniper a head when it lowers.
- Phase 2: shotgun a head when it closes, swap back to the laser pistol the moment rows spawn.
- Take the elevator after the kill to trigger the ending.
Stall point: greed. The second bar shortens every window, so two sniper shots and a reposition beats three shots and a stagger.
Side missions and optional objectives
| Optional objective | Where | Reward |
|---|---|---|
| Giant worm arena | Hidden side area | Just a Worm achievement |
| Capacity pickups | Slime pits, hive alcove, light-puzzle rooms | Larger reserve for boss attempts |
| Clothing collection | All six sectors | You Expect Me to Wear This? |
| Gallery completion | Story plus post-game room | Hold That Pose |
| Hard mode clear | Difficulty setting | Bring It On |
| Sandbox spawning | Post-game room | Part of the Family, Overpopulation |
The achievements page→ gives each flag its exact condition. The number of capacity pickups is not published by the developer (not documented), so treat the route notes as the source of truth rather than a counter.
What each mission actually pays
Rewards are not cosmetic only. The pattern is that each sector upgrades one part of your kit:
- A1 gives crowd control (the SMG).
- A2 gives burst and precision (shotgun, sniper).
- B1 gives sustained damage (the rifle) plus your first real hazard route.
- B2 gives the first boss wall and the capacity to survive it.
- C1 gives the utility gun that decides the finale.
- C2 gives the ending and unlocks the post-game room.
Miss a reward and the next mission is harder, not impossible. That is why the game lets you replay sectors: the penalty is time, not a dead save.
Mission rules that decide a run
- Keycards persist, doors do not. A replay keeps your cards and resets the gates.
- No backtracking through a sector exit. Once the next area loads, the old one is closed.
- Side branch before main door. Every sector closes its branch when you take the exit.
- Save rooms reset your outfit state. Use them before hazard routes and boss doors.
FAQ
How many missions are in CelSector? Six, one per sector, played in a fixed order from A1 to C2.
Is there a mission select screen? There is stage select for cleared sectors, but no mission log, waypoint or objective list in-game.
Can I skip a mission? No. Each sector gate needs its keycard, generator count or boss kill.
What is the hardest mission? C2, because the final boss has two health bars and keeps spawning add rows.
Which mission has the most missable rewards? A1 for clothing and A2 for the shotgun and sniper. Both punish a fast main-line run.
Do missions reset if I fail? A death returns you to the last save room; the sector state stays as it was.
Sources
Official source: CelSector on Steam ↗ · CelSector demo on itch.io ↗ · Steam news and patch notes ↗
Tested source: sector order, gates and reward placement as documented across this site's six walkthrough pages.