
CelSector Map: Six Sectors, Routes and Pickup Spots
A working CelSector map: how the six sectors connect, the loop layout of each one, where the arms and side rooms sit and the route order that misses nothing.
Quick answer: CelSector has no map screen and no coordinates. The facility is six hand-drawn sectors on three layers — A (prison and its laboratories), B (sewers and the parasitic nest) and C (deep laboratory and the control level). Every sector uses the same skeleton: entry corridor, a hub or arena, a side branch holding the key item, a gate, then the exit. Learn that skeleton and you can find your way without a minimap.
The walkthrough hub→ runs the same sectors in play order. This page is the geography: what connects to what, where the branches are and which route order avoids a second pass.
The game ships no compass and no coordinate readout (not documented). Positions below are landmarks — "left of the SMG, under the first pit, far right of the corridor" — not map pins.
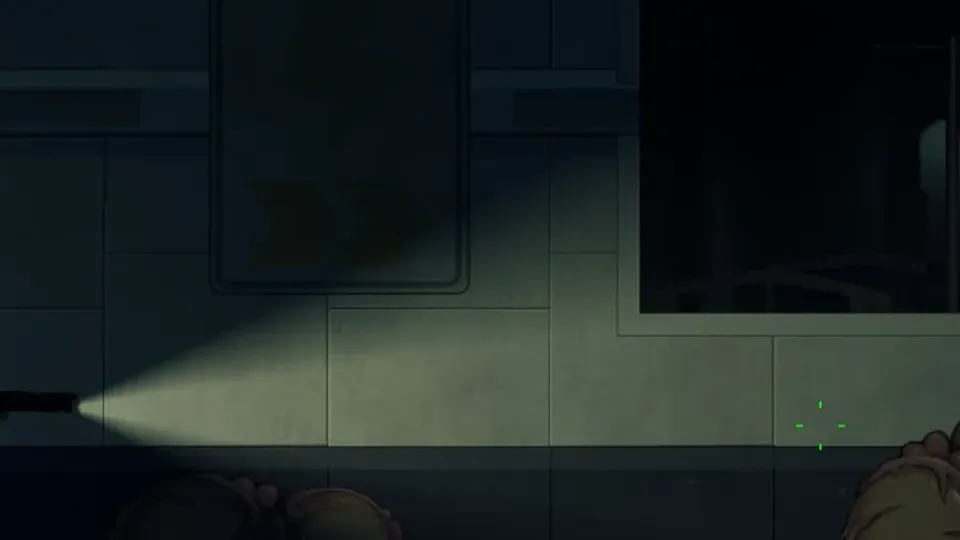
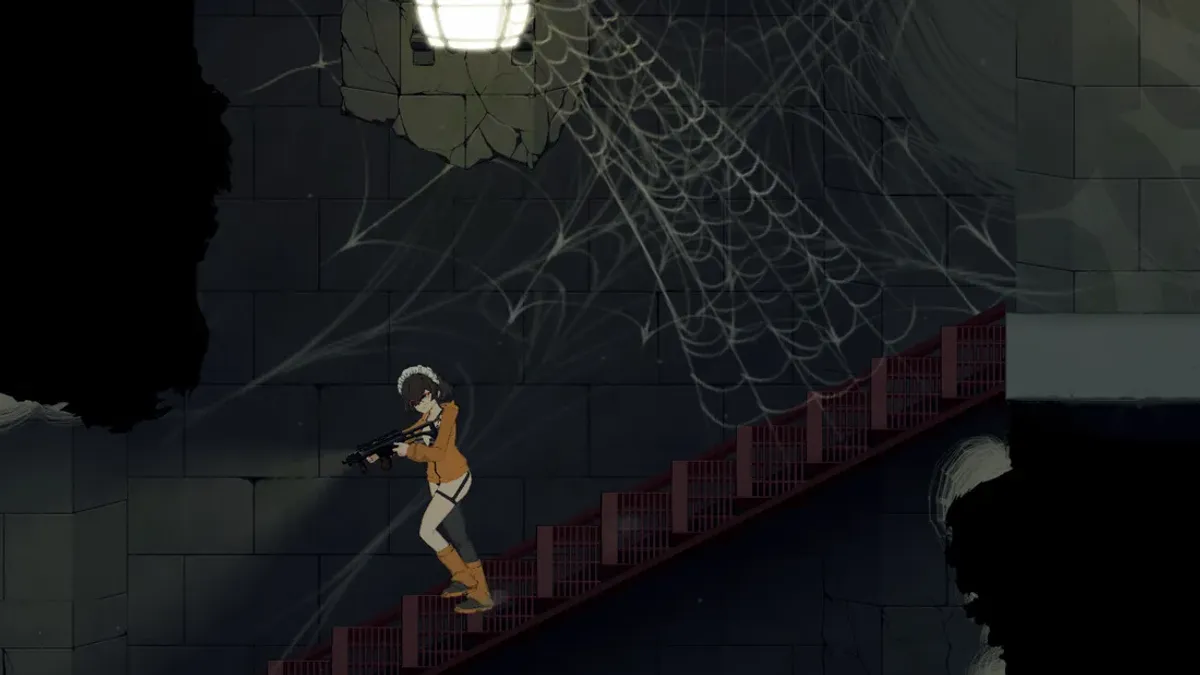
The facility at a glance
| Layer | Sectors | Setting | How you leave |
|---|---|---|---|
| A | A1, A2 | Prison, then its laboratories | Two keycards, then a one-way drop and a final door |
| B | B1, B2 | Sewer hub, then the parasitic nest beneath it | Three generators, then a boss keycard |
| C | C1, C2 | Deep laboratory, then the control level | Light puzzle and boss drop, then the final elevator |
The letters are not menu chapters. They are the three times the game moves you deeper: down into the flooded infrastructure, then into the nest, then up into the control systems that run the facility.
The route graph
Sectors connect in one line, with no branching between them:
- A1 entry → larvae hall → egg arena → SMG room → maggot pit → A1 exit.
- A2 entry → dog room → pre-drop ledges → one-way drop → zombie corridor → A2 exit.
- B1 entry → starting ledge → generator hub → save room → slime pits → rifle side room → elevator.
- B2 entry → web room → wasp nest corridor → hive alcoves → queen arena → post-boss room → exit.
- C1 entry → light puzzle rooms → slime parkour → pre-boss side room → jellyfish arena → tentacle corridor → exit.
- C2 entry → tentacle corridor → yellow hall → final save room → boss arena → elevator.
Read that list twice and the layout stops feeling like a maze. Each item is a room or a short run of rooms, and the side branch always sits between the hub and the gate.
Why each sector is a loop, not a corridor
A1 sets the pattern: you enter at one edge, the gate sits near the far side, and the branch that holds the key curls back toward where you came in. A2 breaks the loop with a one-way drop. B1 replaces the branch with a hub of three generators. B2 gates with a boss. C1 combines a state puzzle with a post-boss corridor. C2 is the short version: corridor, hall, save room, arena.
The practical rule is the same in all six: walk the branch before you touch the gate. If the gate is the last thing you interact with, you never need to know the map in detail.
Sector maps, room by room
A1: prison
| Element | Where it sits | What is there |
|---|---|---|
| Entry | Left edge of the sector | First mutants, grab tutorial |
| Main path | Centre | Larvae hall, then the egg arena |
| Branch | Down, under the first larvae hall | Keycard in the pit |
| Side room | Left of the main run | SMG, three clothing chests |
| Optional | Bottom right, lower level | Maggot-pit chest |
| Gate | Far right | Exit door wanting both cards |
A2: laboratories
| Element | Where it sits | What is there |
|---|---|---|
| Entry | Left edge | Dog room |
| Main path | Centre | Zombie corridor |
| Branch | Up, on the pre-drop ledge | Shotgun |
| Branch | High ledge above the first | Sniper |
| Point of no return | Centre-right | One-way drop |
| Gate | After the drop | Final door |
B1: sewers
| Element | Where it sits | What is there |
|---|---|---|
| Entry | Top of the starting ledge | Four cosmetic pieces |
| Hub | Centre | Three generators, one light each |
| Reward room | Off the hub | Save room, opens at three lights |
| Hazard route | Lower level | Slime pits, earthworms, ants |
| Branch | Side room off the hub | First rifle |
| Gate | Far side | Elevator |
| Optional | Pit edges | Capacity pickup |
B2: parasitic nest
| Element | Where it sits | What is there |
|---|---|---|
| Entry | Left | First web room |
| Main path | Centre | Wasp nest corridor |
| Branch | Alcoves off the corridor | Clothing chest, upper-ledge capacity pickup |
| Gate | Far side | Queen wasp arena |
| Reward | After the arena | Keycard, post-boss chest |
C1: deep laboratory
| Element | Where it sits | What is there |
|---|---|---|
| Entry | Left | Light puzzle rooms |
| Hazard route | Centre | Slime parkour |
| Branch | Pre-boss side room | Laser pistol |
| Gate | Arena | Jellyfish boss |
| Post-boss | Long corridor | Keycard and chest at the far right |
| Optional | Dark corners of the puzzle rooms | Capacity pickup |
C2: control level
| Element | Where it sits | What is there |
|---|---|---|
| Entry | Left | Tentacle corridor |
| Main path | Centre | Yellow-lit hall |
| Checkpoint | Before the arena | Final save room |
| Gate | Arena | Two-head boss |
| Exit | Behind the arena | Elevator, ending trigger |
Resource distribution
| Sector | Guns | Clothing | Capacity | Keycard |
|---|---|---|---|---|
| A1 | SMG | Three chests plus maggot pit | No | Two |
| A2 | Shotgun, sniper | Corridor chest | Possible, unconfirmed | One |
| B1 | Rifle | Four ledge pieces, elevator chest | Yes, slime pits | No |
| B2 | Double barrel, late pickups | Web-room chests | Yes, alcove ledge | One |
| C1 | Laser pistol | Corridor chest | Yes, puzzle rooms | One |
| C2 | None new | Save-room area check | No | No |
Capacity counts are not published by the developer (not documented); the table lists only the spots the routes confirm. For exact chest wording, the secrets and chests page→ has the room-by-room list.
Enemy distribution by sector
| Sector | Ground pressure | Air pressure | Hazard | Boss |
|---|---|---|---|---|
| A1 | Mutants, larvae, maggots | None | Pit falls | None |
| A2 | Dogs, zombies | None | One-way drop | None |
| B1 | Ants, earthworms | None | Slime | None |
| B2 | Spiders, nest guards | Wasps | Silk | Queen wasp |
| C1 | Slimes, tentacles | Jellyfish | Slime, light state | Jellyfish |
| C2 | Tentacles | Add rows | None | Two-head boss |
Air pressure is the variable that changes your loadout. B2 onward, a gun that cannot hit a flying row costs you the room, which is why the laser pistol is worth the detour in C1.
Three routes through the same map
First run (miss nothing, accept the time). Branch first in every sector, gate last, save room before every hazard route. Add 15-20 minutes per sector and you finish with the full kit.
Cleanup run (stage select). Replay A1 and A2 first — they hold the most missable clothing and both pre-drop guns — then B1 and B2, then C1. Keycards stay collected, so the second pass is faster despite the re-clears.
Speed run (accept the losses). Main line only: skip the A1 pit until the door demands it, skip the A2 ledges entirely, take the B1 elevator without the rifle, and grab only the C1 laser pistol. You will fight the queen and the final boss on a thinner kit.
The one branch a speed run should never skip is the C1 laser pistol. Everything else costs damage; that gun costs the finale.
Getting unlost
Four checks solve almost every "where do I go" moment:
- Is the exit dead? You are missing the gate item, not a path.
- Have you swept the side branch? Every sector hides its reward off the main line.
- Did you pass a drop? In A2 the drop is one-way; look up before you commit.
- Are the lights correct? In C1 a closed door usually means the room state, not a bug.
If the C1 corridor keycard genuinely does not appear, reload the save and re-check the far right before treating it as a softlock. That report exists in the community, and a reload has resolved it.
FAQ
Is there a map in CelSector? No map screen, no minimap and no coordinates. The stage-select list is the closest thing to a progress view.
How many sectors are there? Six, split across three facility layers: A1, A2, B1, B2, C1 and C2.
Can you backtrack to an earlier sector? Not in the same run. Stage select replays a cleared sector, with doors and arenas reset.
Where is the most important pickup on the map? The C1 laser pistol, in the pre-boss side room. The final boss's add rows are built around it.
What is the shortest route to the ending? A1 door, A2 door, B1 elevator, B2 queen, C1 corridor keycard and laser pistol, C2 boss. Everything else is optional loot.
Why does a door stay locked after I cleared the room? It wants a keycard, a generator count or a boss kill. The room being clear is not the condition.
Sources
Official source: CelSector on Steam ↗ · CelSector demo on itch.io ↗ · Steam news and patch notes ↗
Tested source: room order and landmark positions as documented in this site's six sector walkthroughs.